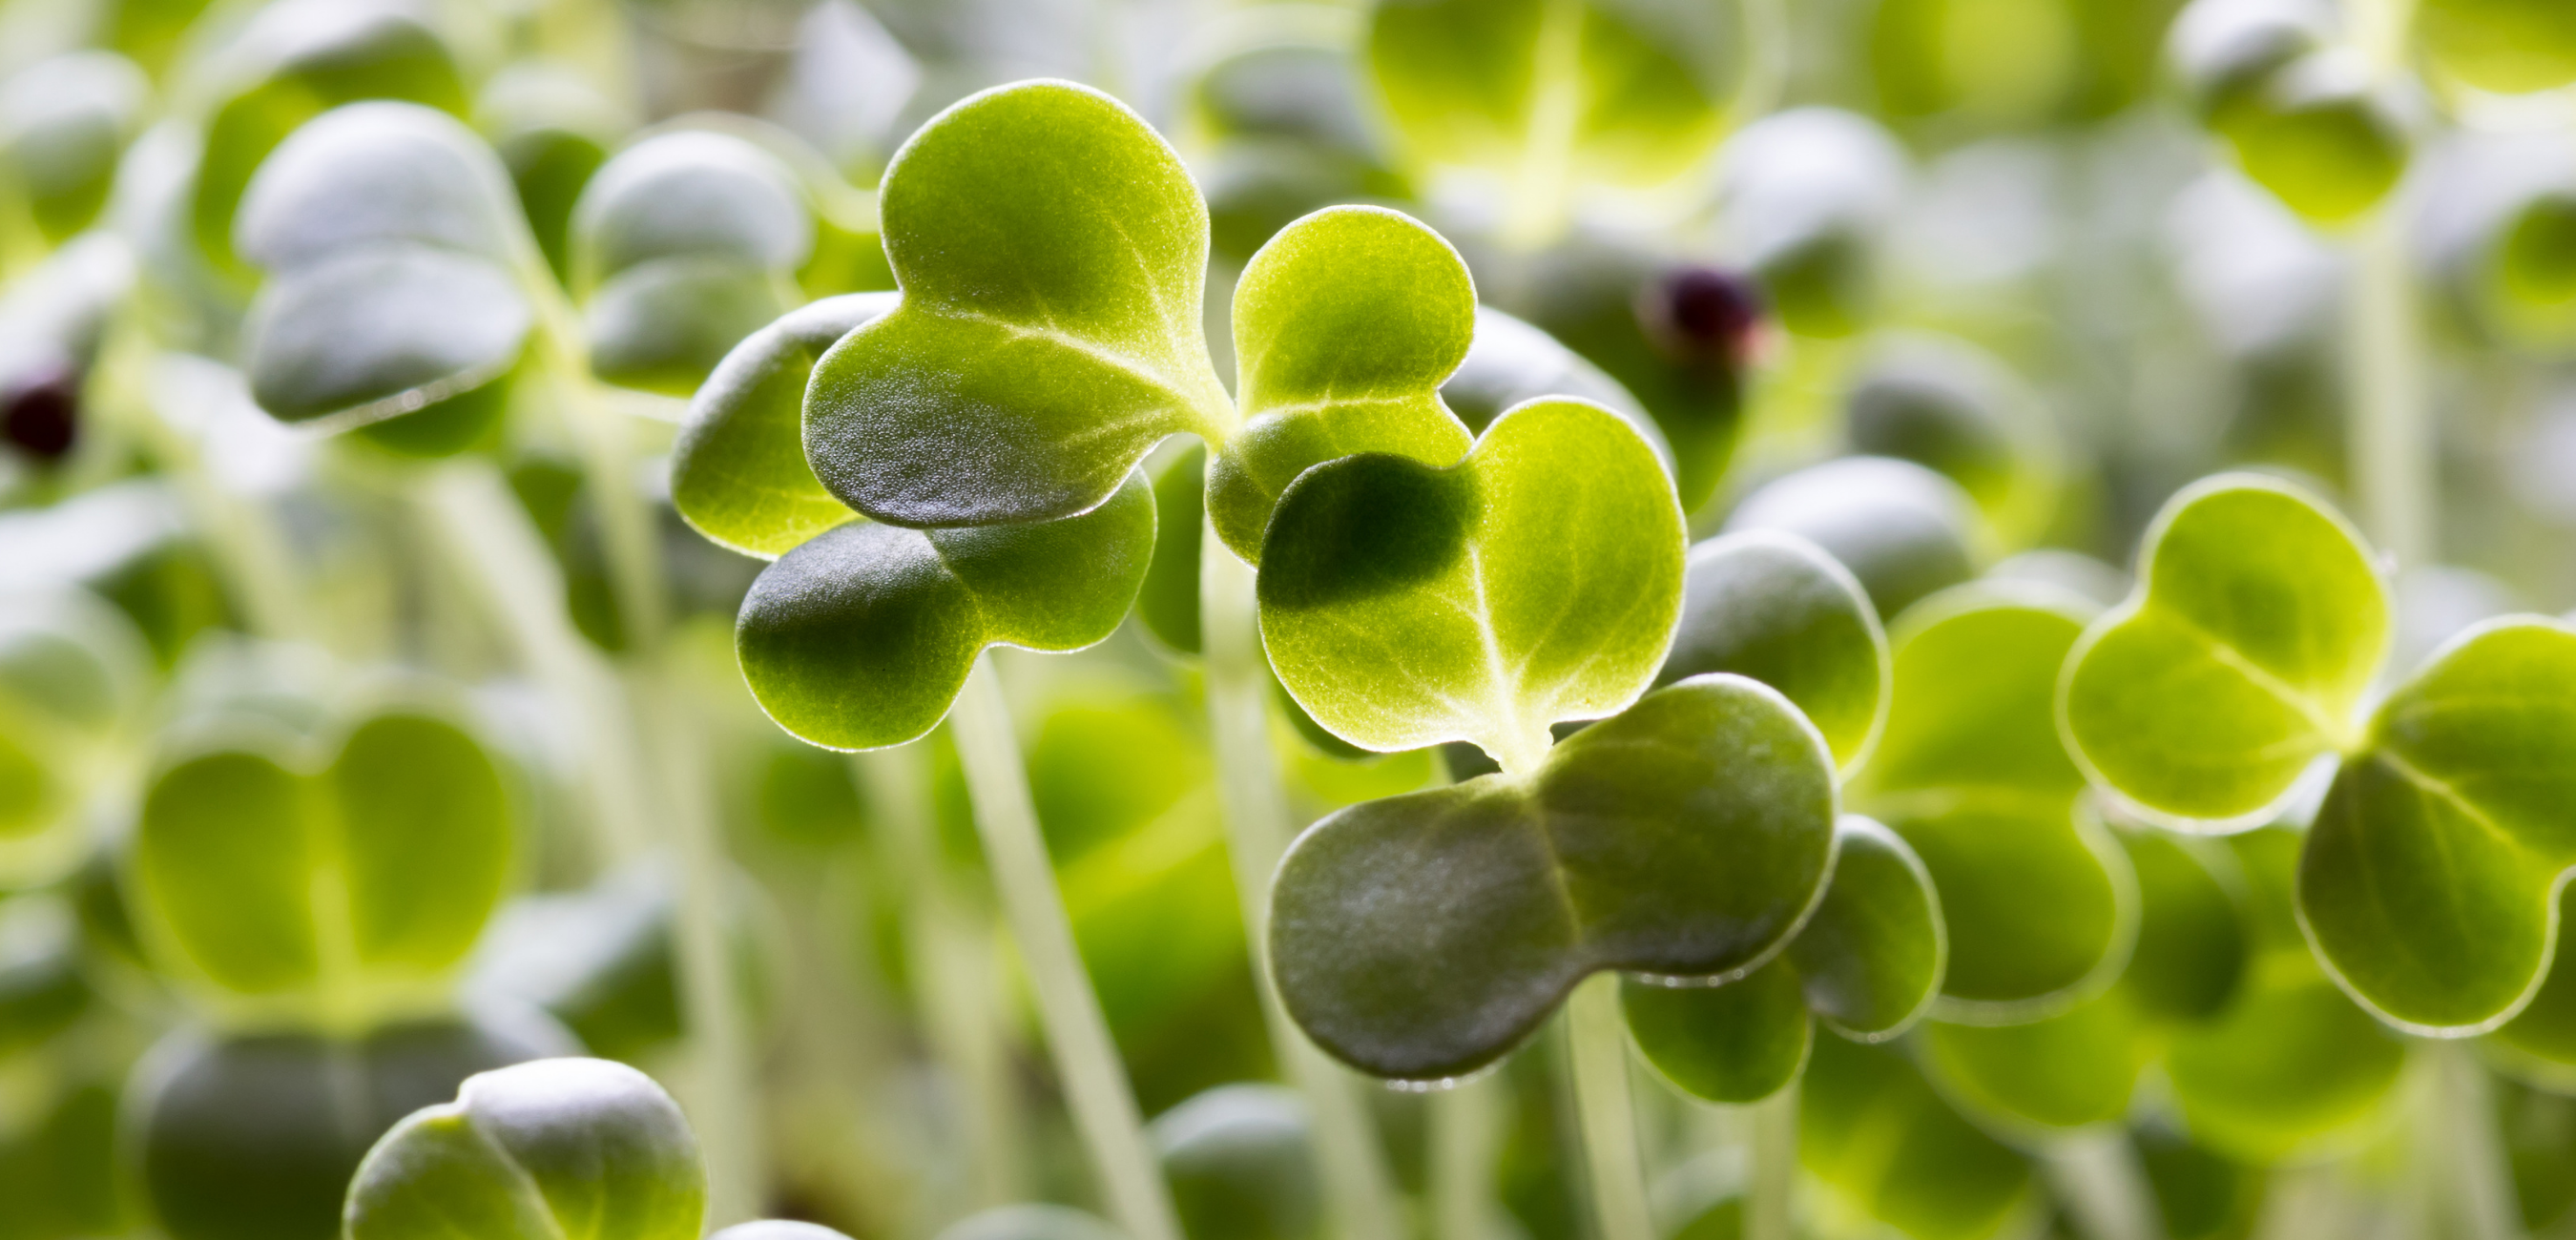
What are Microgreens?
Microgreens are basically baby plants. Typically they are grown very densely in soil for approximately 1-3 weeks until they have developed their cotyledon or “seed” leaves and possibly a set of true leaves. They are different from sprouts which are merely soaked and allowed to germinate and grow only for a few short days and are not allowed to develop any green leaf. Sprouts are typically eaten seed, root and all whereas microgreens are harvested by cutting the stem and leaves off above the soil, leaving the roots/seed behind.
Why grow Microgreens?
When you eat microgreens you are providing your body with a power- packed dose of nutrients more concentrated than those which are found in the mature plants. Due to their high antioxidant content and high levels of vitamins, minerals, carotenoids and fibres., microgreens are considered to be a functional food which promotes good health and helps prevent disease. In a recent study, 25 different species of microgreens were analysed and it was proven that in some cases you can find from 4 up to 40 times more vitamins or carotenoids in the microgreen leaves than in their mature counterparts. These recently germinated seeds have all the nutrients that the small plants need to grow bigger, so you could say that microgreens actually are little nutrient explosions!
By growing your own you not only have the pleasure of nurturing the food that will in turn nourish your own body but you also have full control over which types of microgreens are available to your family at any given time and you retain their freshness and high nutrient content by harvesting them mere moments before eating them. It doesn’t get any more Local than that!!
How do you eat Microgreens?
Easy….any way you wish! They are amazing mixed into any salad, added to any sandwich, bagel, pizza, flatbread, cracker etc. They are wonderful sprinkled onto soups, stews, curries and they make beautiful and nutritious garnishes on so many dishes, giving them a “pro chef touch.” Many people love to add microgreens to their smoothies for an added nutrient punch and they are a tremendous addition to any fresh juicing routine. They are great on their own too. Our 2 year old grandson snacks on handfuls of sunflower and pea shoots very happily! And, although they probably retain more raw green power when eaten live, microgreens can be lightly sautéed as well and can also be dried to be used as a super-food green powder, which can be added to anything.
How to grow Microgreens:
In your kit you will find everything you need to grow 4 types of microgreens. Included is a set of 5 Growing Trays, (4 in which to grow and 1 to use inverted over the sunflower shoots to help loosen the hulls (See Pro-Tip below..) Organic Growing Medium (“soil”) in which to grow them and Organic Seeds. We encourage you to save the trays so that you can grow more microgreens in the future. We are pretty sure you will want to keep growing them once you see how delicious and fresh they are when you can cut them live from your own windowsill. Please feel free to contact us to order refills for the organic growing medium and for seeds. We will try to have a selection of different micros for you to try out!
Some of your seeds should be soaked overnight before planting. Sunflower seeds and peas should be rinsed in clean water and then soaked for approx. 8-12 hours. Use a large container and plenty of water as they will expand quite a bit as they absorb water. Give them another rinse just before planting.
The other seeds in your kit do NOT require a soaking before planting.
Pre-moisten the growing medium before you fill the trays. Do this by adding a small amount of water and hand mixing it into the medium. You want it to be damp but not soaking wet, so that it just holds together when you gently press it into a ball in your hand.
Add ¼ of the medium to each tray and gently pat it down so that you have a very even and level surface for the seeds to sit on. Try not to compact the medium any more than you need to.
Each seed packet contains the correct amount of seeds for one growing tray. Simply scatter the seeds as evenly as possible over the growing medium. They will be fairly dense which is exactly what you want. Do not cover them with soil, they will grow best if they are left on top of the medium. At this point you can give them a gentle mist with water but be careful not to make the trays too wet or to wash the seeds out to the sides with the flow of water. You want the seeds to stay evenly spaced.
Set the trays on a plate or cookie tray etc to catch any water that comes through the bottom holes.
At this point you will need to cover the trays in order to give your microgreen seeds a Blackout Period so that they can sprout in darkness. If you are not growing all of your trays at once it is quite easy to use a second tray on top of the seeds in a nesting fashion. Don’t worry about the upper tray touching the seeds….in fact the micros will grow even better if you put a weight on top of the top tray. For example you could use a soup can or similar to press down on them. It is quite amazing how much upwards pressure these little seeds can exert when they are sprouting. You can also just use a cutting board or plate or anything really to cover the trays to provide darkness.
Check on your trays each day to make sure they haven’t dried out too much and see if they are sprouting. If planting day is considered Day 1, then they should be ready to be uncovered and put into light by about Day 4. Choose a bright spot with as much direct light as possible, such as a sunny window sill. If you happen to have grow lights then you can set them quite close to your sprouting micros. They will look fairly weak and yellow when you first uncover them but you will begin to see the tiny plants greening up once they get into the light. Give them a good water at this point as well but be careful not to keep them soaking wet all of the time. A small amount of water each day is the best approach and you will notice them wilting if they need more.
Pro-Tip: On the day you uncover the sunflower shoots, water them and spray the tops and then cover the tray back up with an empty inverted tray to give them an extra day of dark and dampness. This can help to loosen the hulls so that you can easily brush or slip them off the next morning when you fully uncover them.
Note: Many of the micro seeds grow little Root Hairs when they are sprouting and these can be easily confused with mould. These are a normal part of the growth and not to be worried about.
Most of the micros in your kit will be ready to start cutting by around Days 8-10. If you keep them well watered (not too wet) the trays should last for a week or so as you cut what you need. The exception to this is the Sunflowers. Sunflower micros are at their optimal flavour and texture when they are in their Cotyledon (or Seed Leaf) stage. This means that the two first leaves that emerge from the seed are open but the next set of “true leaves” has not opened yet. When the true leaves grow, the shoots begin to get slightly bitter. If you notice the true leaves emerging, then the best thing to do is to cut all of the sunnies and store them in a bag in your fridge where they should keep fresh for a good week or two.
All of the microgreens in this kit can also be harvested with a knife or scissors and stored in bags in the fridge if you prefer not to keep the trays growing once they have come to maturity.
Summary:
- Moisten growing medium
- Fill trays evenly
- Pre-soak Peas and Sunflowers but not the other types of seeds
- Scatter seeds on top of medium
- Cover trays to provide blackout period
- Check daily
- Uncover approx. Day 4, water and put under lights
- Water lightly approximately every day
- Harvest around Days 8-15 (Maturity will vary slightly)
- Don’t allow sunflower micros to grow to the True Leaf stage
- Store in bags in fridge after harvest if not eating immediately
- ENJOY!